


DIY iPhone Screen Repair: What You Need to Know
Repairing an iPhone screen yourself can be an appealing option if you’re looking to save money or enjoy a hands-on project. However, DIY repairs come with risks and challenges. Understanding the process, potential pitfalls, and necessary precautions is crucial to ensuring a successful repair. In this guide, we’ll explore everything you need to know about DIY iPhone screen repair.
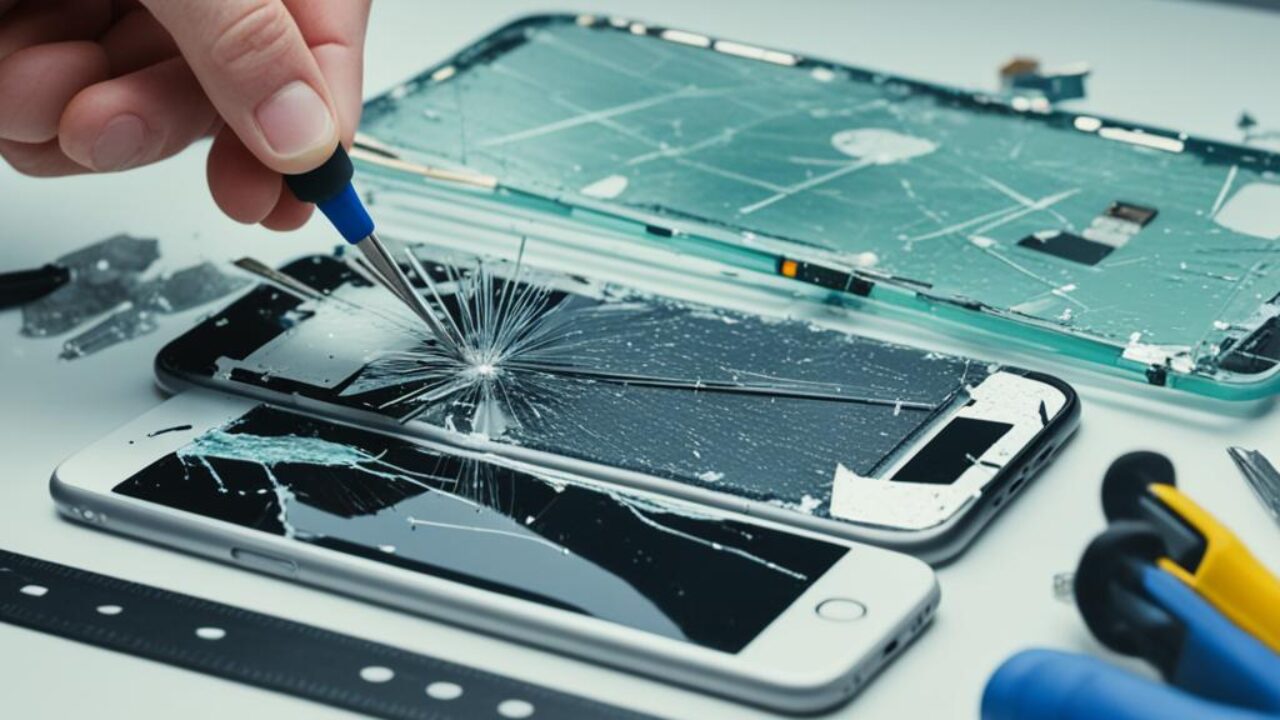
1. Assess the Damage
Before diving into a DIY repair, it’s essential to assess the extent of the damage. Understanding the type and severity of the screen damage will help you determine whether a DIY repair is feasible or if professional help is needed.
Consider the following types of damage:
- Cracked Screen: Small cracks might be manageable for DIY repair, but extensive cracking may indicate a need for professional service.
- Shattered Glass: Shattered screens can be more challenging to repair and may require special tools and techniques.
- Unresponsive Touchscreen: If the screen is unresponsive, the issue might be more than just physical damage, potentially involving internal components.
How to Assess the Damage
To assess the damage:
- Inspect the Screen: Look for cracks, chips, or shattered glass to gauge the severity of the damage.
- Test Functionality: Check if the touchscreen responds and if the display is functioning correctly.
- Consult Online Guides: Use online resources to identify the type of damage and decide if a DIY repair is feasible.
2. Gather the Necessary Tools and Parts
Successful DIY iPhone screen repair requires the right tools and replacement parts. Using the appropriate tools ensures that you perform the repair accurately without causing additional damage.
Here’s what you’ll need:
- Replacement Screen: Purchase a high-quality replacement screen compatible with your iPhone model.
- Tool Kit: Essential tools include a pentalobe screwdriver, Phillips screwdriver, suction cup, plastic prying tools, and tweezers.
- Adhesive: Use adhesive strips or glue to secure the new screen in place.
- Cleaning Supplies: Prepare cleaning solutions and cloths to ensure the internal components are free from dust and debris.
Where to Find Tools and Parts
To find tools and parts:
- Online Retailers: Websites like Amazon, eBay, and specialized repair shops offer iPhone screen repair kits and tools.
- Local Electronics Stores: Check local stores for tools and parts, especially if you need them quickly.
- Manufacturer Recommendations: Refer to the manufacturer’s recommendations for high-quality parts and tools.
3. Follow a Step-by-Step Repair Guide
Following a detailed repair guide is crucial for a successful DIY iPhone screen repair. Accurate instructions help prevent mistakes and ensure that you reassemble your iPhone correctly.
Here’s a general overview of the steps involved:
- Power Down Your iPhone: Before starting the repair, turn off your device to avoid electrical hazards.
- Remove the Screws: Use a pentalobe screwdriver to remove the screws near the screen’s edge.
- Separate the Screen: Use a suction cup and plastic prying tools to carefully lift the screen from the body of the iPhone.
- Disconnect the Battery: Remove any connectors securing the battery to prevent electrical shorts.
- Replace the Screen: Disconnect the damaged screen and replace it with the new one, securing it with adhesive and reattaching all connectors.
- Reassemble the iPhone: Carefully align and secure the screen with screws and reassemble any remaining components.
- Power On and Test: Turn on your iPhone and test the new screen to ensure it functions correctly.
Finding Reliable Guides and Tutorials
To find reliable repair guides:
- Online Repair Websites: Websites like iFixit and YouTube offer comprehensive guides and video tutorials.
- Forums and Communities: Online forums and communities can provide additional tips and advice from experienced DIYers.
- Manufacturer Resources: Check the manufacturer’s website for official repair guidelines and tools.
4. Understand the Risks and Limitations
DIY iPhone screen repair carries certain risks and limitations. Being aware of these can help you make an informed decision about whether to proceed with the repair yourself or seek professional help.
Consider the following risks:
- Potential for Further Damage: Incorrect handling or use of improper tools can cause additional damage to your iPhone.
- Voiding Warranty: DIY repairs may void your device’s warranty, making it difficult to get future repairs or support from the manufacturer.
- Complexity of Repair: Some repairs require technical expertise beyond basic screen replacement, such as addressing internal component issues.
How to Mitigate Risks
To mitigate risks:
- Research Thoroughly: Ensure you understand the repair process and potential pitfalls before starting.
- Use Quality Parts: Invest in high-quality replacement parts to ensure compatibility and longevity.
- Consider Professional Help: If you’re unsure about any aspect of the repair, consult a professional technician.
5. Decide If DIY Is Right for You
Ultimately, deciding whether to undertake a DIY iPhone screen repair depends on your comfort level and technical skills. If you’re confident in your abilities and have the right tools and parts, DIY repair can be a cost-effective solution. However, if you have any doubts or the damage is extensive, seeking professional help may be the best option.

Evaluate your situation by considering:
- Your Technical Skills: Assess whether you have the skills and patience required for a successful DIY repair.
- The Extent of Damage: Determine if the damage is manageable or if it requires professional attention.
- Cost vs. Benefit: Compare the cost of DIY repairs, including tools and parts, with the cost of professional services.
Making the Final Decision
To make your final decision:
- Weigh Pros and Cons: Consider the advantages and disadvantages of DIY repair versus professional service.
- Consult with Professionals: If in doubt, seek advice from repair professionals to better understand your options.
- Evaluate Costs: Ensure that the DIY repair cost is justified compared to professional repair services.
Conclusion
DIY iPhone screen repair can be a rewarding experience if approached with the right knowledge and preparation. By assessing the damage, gathering the necessary tools, following detailed repair guides, understanding the risks, and making an informed decision, you can achieve a successful repair. However, if you’re unsure about any aspect of the process, don’t hesitate to seek professional assistance to ensure your iPhone remains in optimal condition.